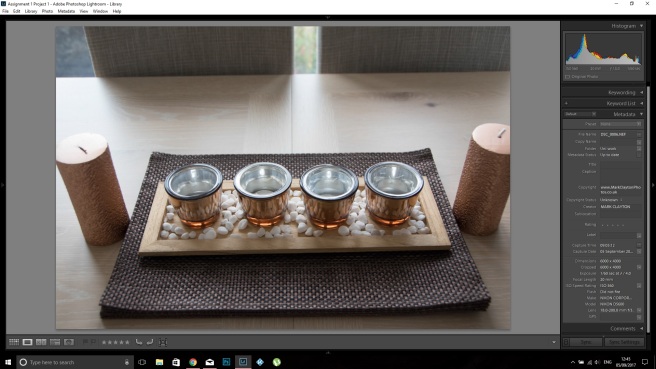
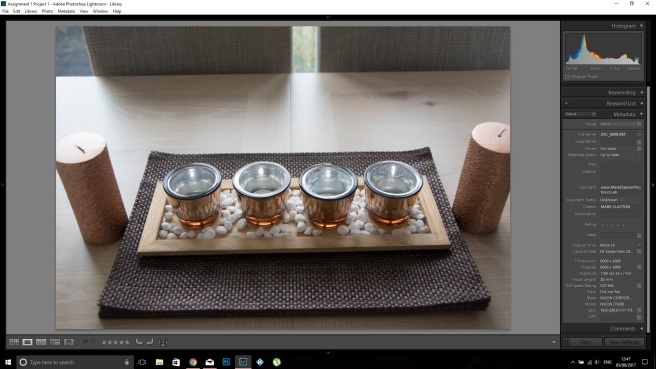
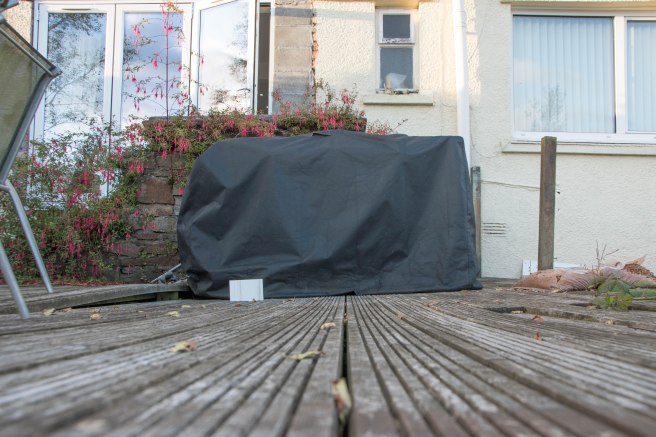
1. Take two or three photographs in which a single point is placed in different parts of the frame. (A ‘point’ should be small in relationship to the frame; if it’s too large it becomes a shape.)
How can you evaluate the pictures? How do you know whether you’ve got it right or not? Is there a right place and a wrong place for the point? For the sake of argument, let’s say that the right place shouldn’t be too obvious and that the point should be clear and easy to see. As there’s now a ‘logic’ to it, you can evaluate your composition according to the logic of the point. As you look at the pictures you might find that you’re also evaluating the position of the point by its relationship to the frame.
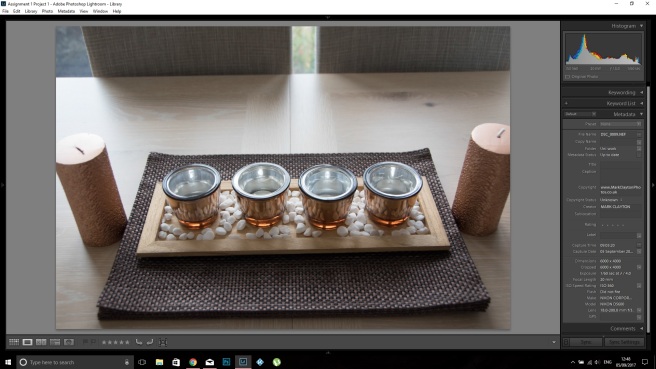
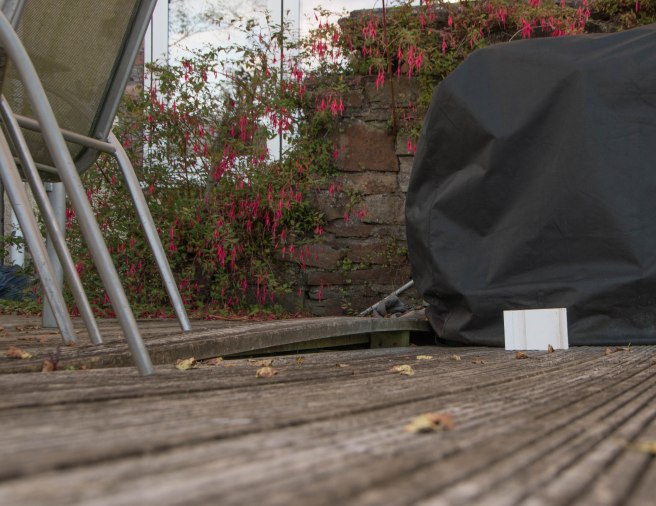
There is no right or wrong answer here wherever the point is placed within the frame the eye does not stray outside the frame. The first two photos tend to keep the eye loitering in the middle of the frame and not towards the edges but in the third photo due to the point being placed close to the edge your eye flows over the whole frame looking for more. All the images seem to balance no matter were the point is placed in the frame.


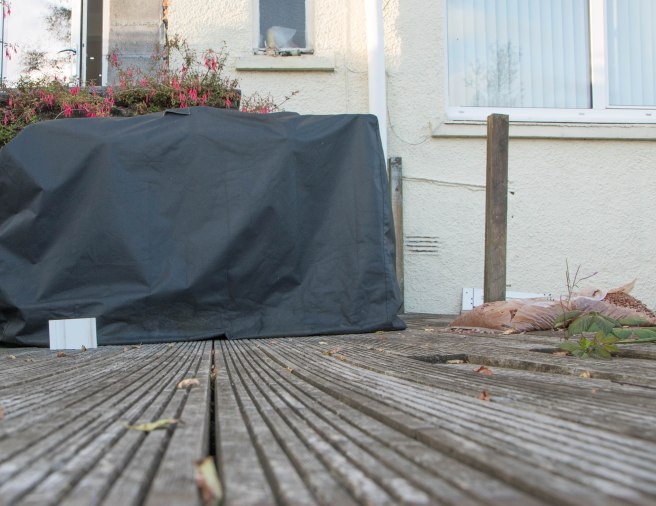
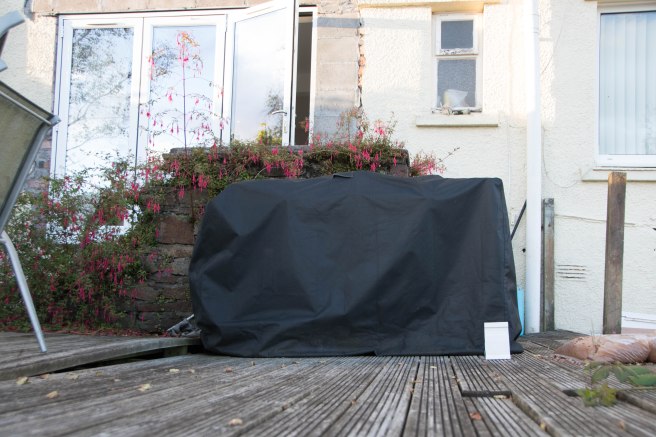
2. Take a number of images in which a point is placed in relationship to the frame. Can you find any place where the point is not in relationship to the frame? If it’s in relationship to the frame you can place a point in any part of the picture and the picture is balanced.
As I took the photos and moved the point around the frame I realised no matter where the point was situated it never really felt out of balance, the closer the point came to to the centre the boring the photo became. The point could never be placed anywhere within the frame and be claimed not in a relationship with the frame. The point has to appear in the frame to have a relationship otherwise the point is no longer part of the image. At what point does the point become to large and take on the form of the subject?
Print out two or three of your point photographs and trace the route your eye takes over the surface with a pencil. Then try the same with a selection of photographs from newspapers or magazines. You should notice that each photograph seems to have its own tempo. Add the traced photographs to your learning log together with brief observations.


With my own photo (image 8) I noticed my eye tends to circle the whole outer frame and not the middle but with the adverts (image 9 & 10) the eye crisscrossed through the centre.
Reference
Illustration: Image 9 Diver April 2017 back page [Accessed Sept 2017]
lllustration: Image 10 Mens Fitness June 2015 page 7 [Accessed Sept 2017]